Make and reuse a node group
Goal: turn "find the items on a level and colour them" into one node you can drop onto the canvas as often as you like.
Before you start
- Open the CamelGraph editor. A model is only needed to run the example.
- A node group is not a frame. A frame (Ctrl+G) is a coloured rectangle behind some nodes. A group is a real node with sockets of its own.
Steps
- Build the example. Add a
Stringnode (Input) for the level name. AddSearch.ByProperty(Navisworks ▸ Search) withcategoryName=Element,propertyName=Level,mode=equals, and wire theStringinto itsvalue. AddAppearance.OverrideColor(Navisworks ▸ Appearance), wire the searchitemsinto it, and wire aColor Picker(Input) into itscolor. Add aWatch List(Display) on theitemsoutput. - Select the search and the colour override. Leave the
String, theColor Pickerand theWatch Listoutside. (If you select them too, CamelGraph keeps input and Watch nodes outside the group on its own, because the Script Player only sees the top level, and tells you which ones it kept out.) - Choose Node Groups ▸ Make Node Group or press Ctrl+Alt+G. An instance replaces your selection and keeps the same wires. The wires that crossed the edge of the selection became its sockets: two inputs and one output. The graph computes what it did before.
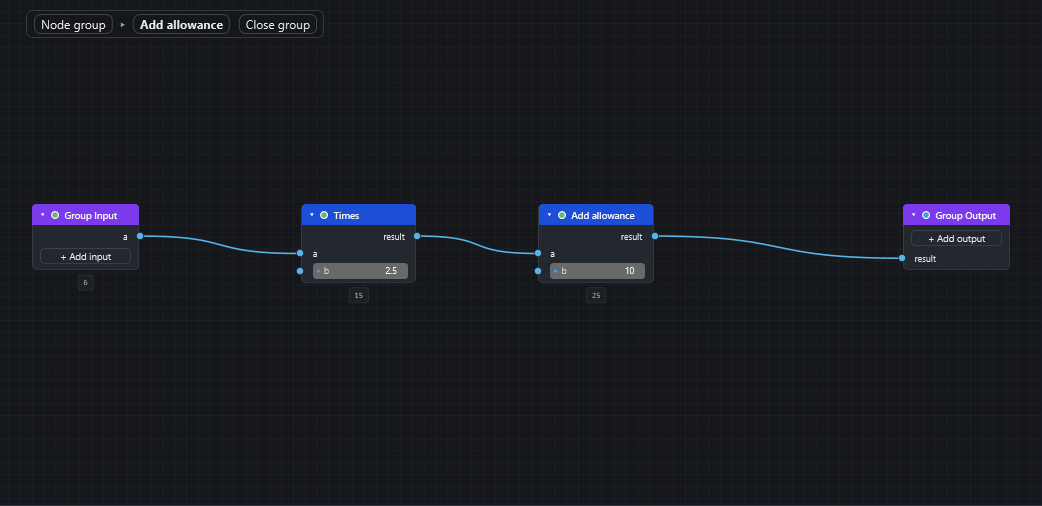
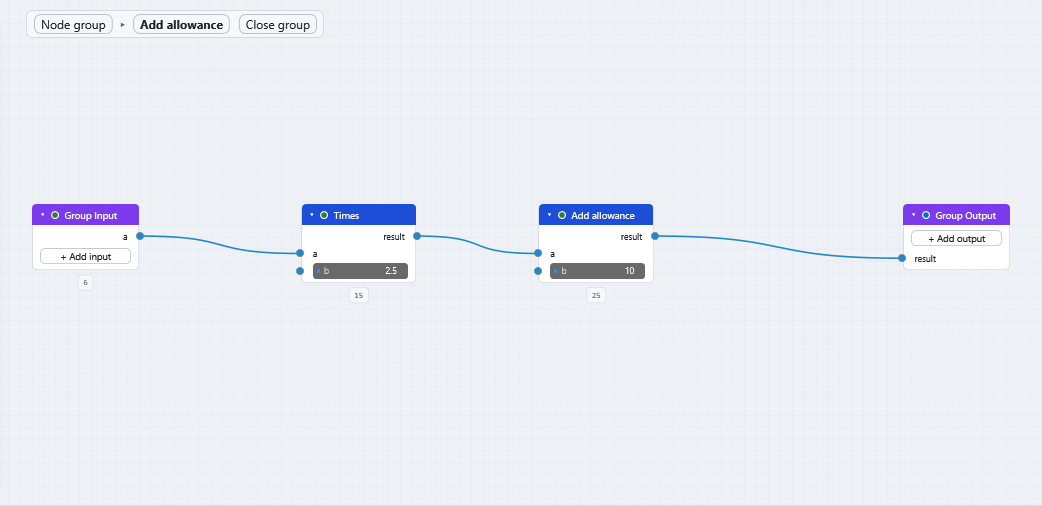
- Select the instance and press Tab. You see the group's nodes between a Group Input and a Group Output node, and a bar above the canvas such as
My script ▸ Node Group. - Right-click a socket on Group Input or Group Output and choose Rename Socket…. Use
Level,ColourandPainted items. Choose Socket Type to setTextorColour; the socket then takes that colour and an editor on the instance. - Choose Node Groups ▸ Rename Node Group… and call it
Colour a level. - Press Shift+Tab, or click Close group in the bar, to go back.
- Use it again. Press Space over the canvas and type
Colour a level, or open the Node Groups folder in the library. Wire a different level name and colour into the new instance.


What you get
A reusable node. Editing the group changes every instance. To give one instance its own copy, use Node Groups ▸ Make Node Group Single User. To put the nodes back in place of an instance, press Ctrl+Alt+U (Ungroup Node Group). A group stays in the file after its last instance is gone, until you choose Delete Unused Node Groups.
To add a socket quickly while a group is open, drag a wire onto the Group Output node itself, or from an unwired input onto the Group Input node. The new socket is named and typed after the socket you dragged from.
Good to know
- Everything inside a group runs each time the instance runs.
- Running (F5) still runs the whole graph while a group is open. Esc stops it.
- Each level keeps its own undo history, so Ctrl+Z inside a group never reaches outside it.
- Errors inside a group are reported on the instance, for example "Inside 'Colour a level', Appearance.OverrideColor: …".
- A group can hold other groups, but never itself.
Sharing and the Player
Older versions of CamelGraph refuse a file that contains node groups, so tell the other person to update (Saving and opening). The Script Player does not offer inputs that sit inside a group, and does not show a Watch inside one. Make Node Group keeps those nodes at the top level for you; if you move one in by hand, move it out again and wire it to the group.
If it does not work
The status bar says why a group could not be made. Typical reasons: nothing is selected, a node that sits between two selected nodes is not selected itself, a loop is split (Loop.Item and Loop.Collect must go into the same group), or the selection holds a Group Input or Group Output node. Select the missing node and try again.
Next
- Node groups lists every command and shortcut.
- Give colleagues a form with the Script Player.
- Keep a graph going when a node fails.