Save one viewpoint for every item
Goal: for every item a search finds, isolate it, frame it in the view and save a viewpoint named after it.
Before you start
- Open a model in Navisworks and the CamelGraph editor.
- Save the model. The loop isolates items one after another and leaves the last one isolated.
- The quickest way to try it is to open the finished sample: File ▸ Sample Graphs ▸ Isolated Viewpoints (Loop), or its card on the start screen.
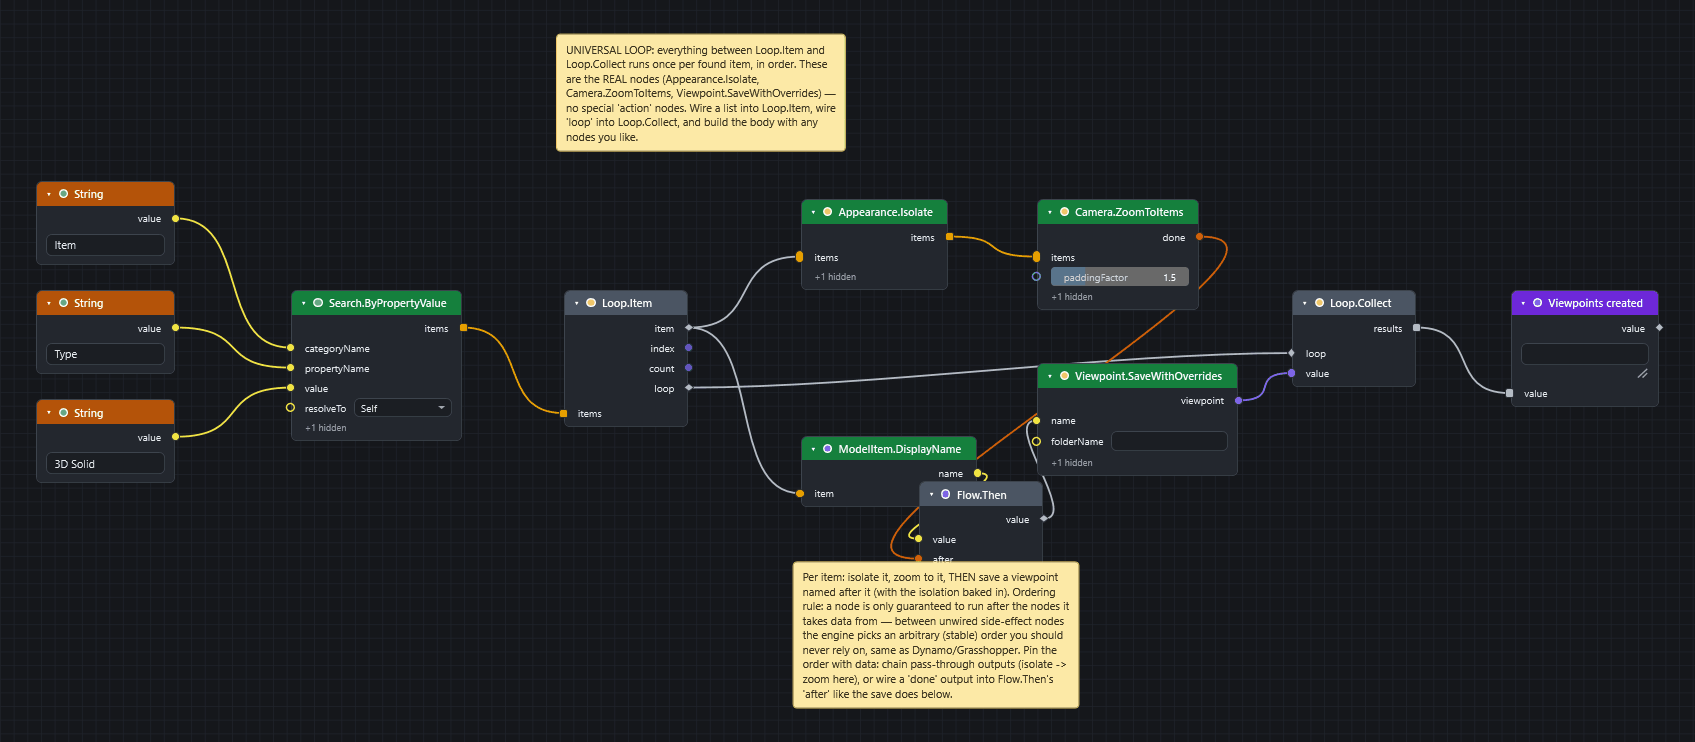
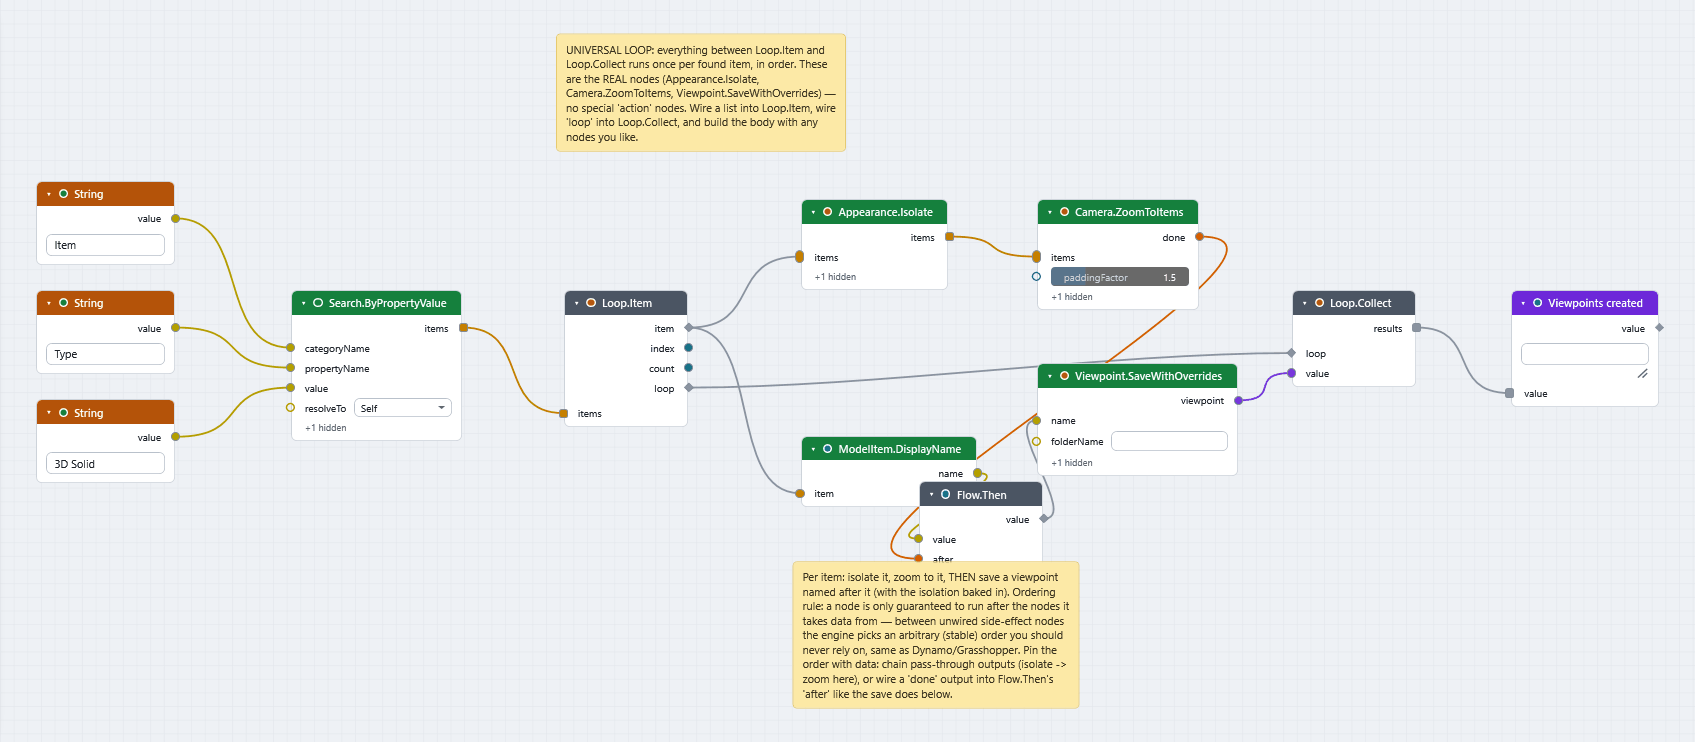
Steps: build the loop
- Add a
Stringnode (Input) with the textRoom. AddSearch.ByProperty(Navisworks ▸ Search) to find the items: typeItemintocategoryNameandNameintopropertyName, choosecontainsinmode, and wire theStringintovalue. That input accepts any kind of value, so it has no box of its own. - Add
Loop.Item(Workflow). Wire the searchitemsinto itsitems. Everything you wire betweenLoop.ItemandLoop.Collectruns once for each item, in order. - Add
Appearance.Isolate(Navisworks ▸ Appearance). Wire theitemoutput ofLoop.Iteminto itsitems. - Add
Camera.ZoomToItems(Navisworks ▸ Camera). Wire theitemsoutput ofAppearance.Isolateinto itsitems. Passing the items on makes the zoom wait for the isolate. - Add
ModelItem.Info(Navisworks ▸ ModelItem). WireitemfromLoop.Iteminto itsitem. Itsnameoutput is the name for the viewpoint. - Add
Flow.Then(Workflow). Wirenameinto itsvalueand thedoneoutput ofCamera.ZoomToItemsinto itsafter. The name now reaches the next node only after the zoom is done. - Add
Viewpoint.Save(Navisworks ▸ Viewpoints). Wire thevalueoutput ofFlow.Theninto itsname. TypeCamelGraph Viewsintofolder(a name, or a path such asReviews/Week 12; missing folders are created) and switchbakeOverrideson. (The sample graph was saved with the earlier nodeViewpoint.SaveWithOverrides; it is the same asViewpoint.SavewithbakeOverrideson, and it still opens and runs.) - Add
Loop.Collect(Workflow). WireloopfromLoop.Iteminto itsloopandviewpointinto itsvalue. - Add a
Watch List(Display) onresults, then press F5.
When it finishes, open the Navisworks Saved Viewpoints window. There is one viewpoint for each item, in the folder you named.
The shorter way: Workflow.ForEach
The sample Isolated Viewpoints per Item does the same with ready-made steps. Add Action.Isolate, Action.ZoomTo and Action.SaveViewpoint (Workflow ▸ Actions), wire them one after the other into the actions input of Workflow.ForEach (Workflow), which takes any number of wires and runs them in the order the wires were made (a List.Create of the actions works too), and wire the search items into its items. Action.SaveViewpoint names each view {name} (the item's name) and files it in the folder CamelGraph Views by default. Add {index1} or {count} to the name to number them.
If one item fails (a name Navisworks refuses, say), Workflow.ForEach leaves that item's result empty, goes on with the others and ends amber with one line that names the item and the action. Open the Advanced panel and set onError to stop to end with an error at the first failure instead. Press Stop to end the run between two actions; viewpoints saved so far stay saved.
ForEach or a loop?
Use Workflow.ForEach when the work per item is a fixed list of Action.* steps. Use Loop.Item and Loop.Collect when it is built from ordinary nodes, as in the steps above.
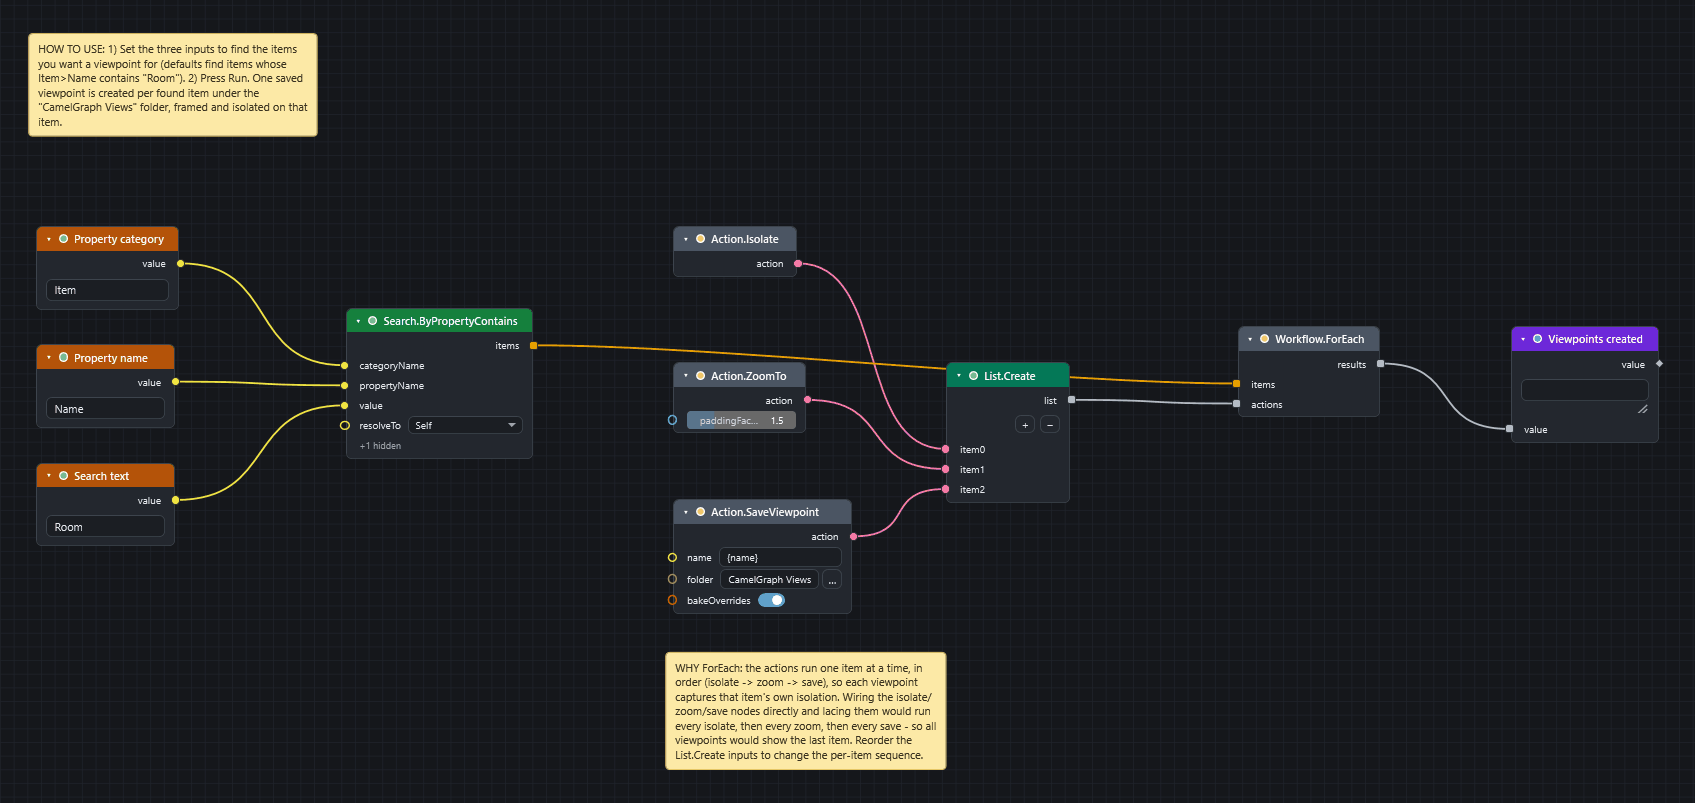
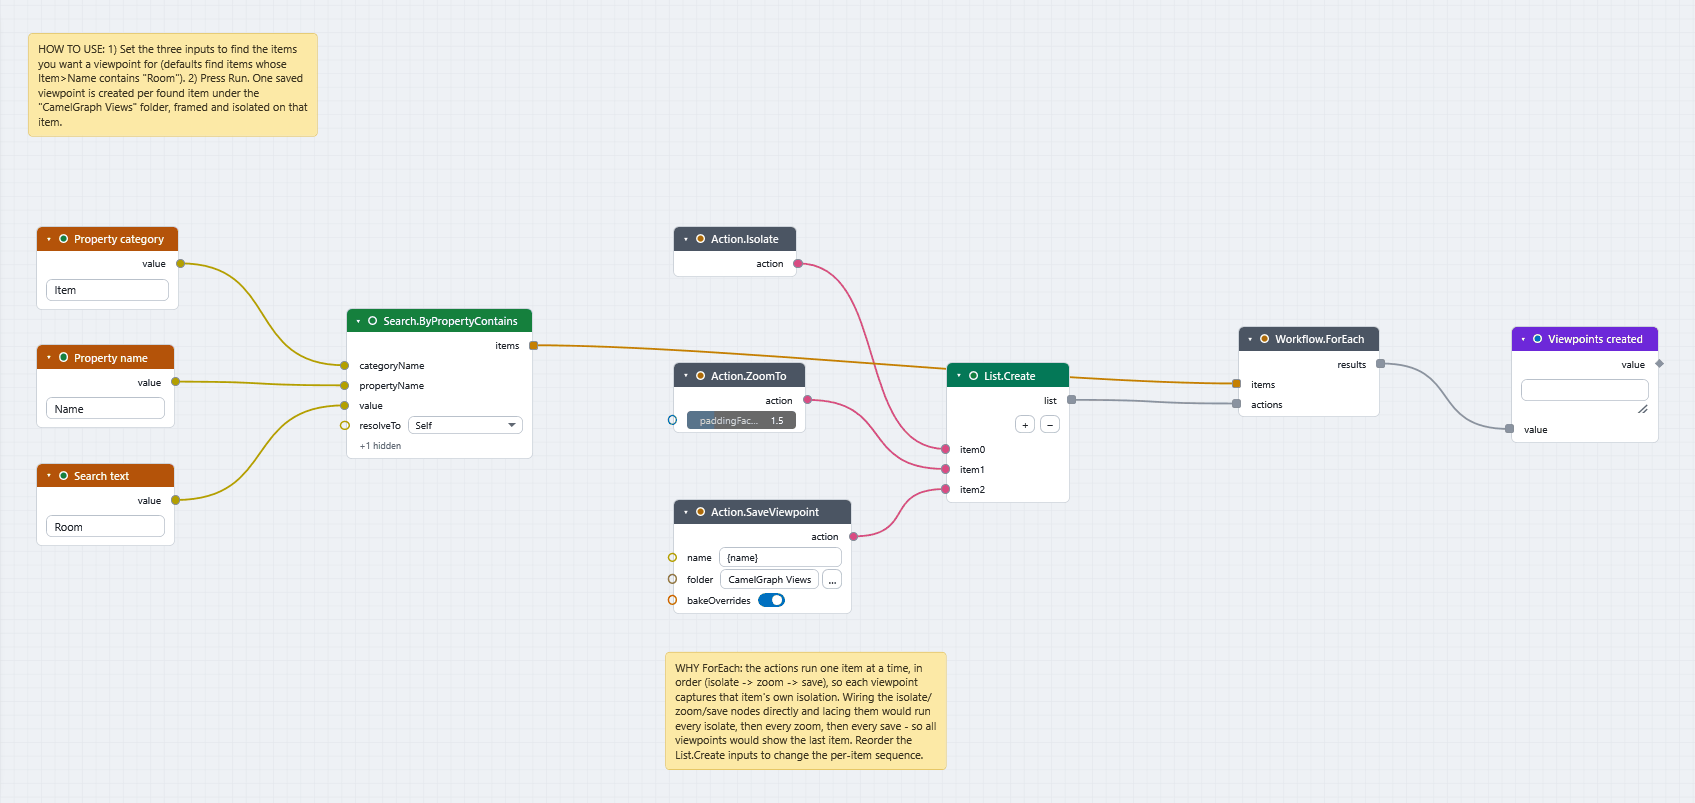
What you get
- One saved viewpoint for every item.
Viewpoint.SavewithbakeOverrideson stores the current view and the isolation, so recalling a viewpoint shows exactly that item. With it off only the camera is saved. - A viewpoint with the same name as an existing one replaces it. Items that share a name therefore leave one viewpoint.
Why Flow.Then?
A node is only guaranteed to run after the nodes it takes data from. Two side-effect nodes with no data between them run in an order you must not rely on. Pass the items on from one node to the next, or wire a done output into Flow.Then, so the order is isolate, zoom, then save.
After the run, the model stays isolated on the last item. Use Appearance.ShowAll to bring everything back.
If it does not work
- Every viewpoint looks the same or shows the last item: the order is not pinned. Check the wires in steps 4 and 6.
- The run is slow, because each pass does real work in Navisworks: press Esc to stop it. It halts between the passes and carries on at the next Run. See Speed up a slow graph.
- Nothing is found: see A search returns nothing.
Next
- Sample scripts also has Spotlight Viewpoints per Item and Section Box Viewpoints per Group.
- Concepts explains data order and loops.
- Workflow nodes.